
Authors: © Denis Svinarchuk, © Pavel Kosenko, © Dmitry Novak
The way we’re building film profiles for Dehancer differs significantly from typical approaches, which are basically used in the film and photo industries. In this article we’ll discuss our profile building technique and how it differs from other applications and plugins.
This article is big, so to get straight to the business, we offer a brief summary:
Dehancer film profiles key features:
- over 50 next generation quality film profiles (the list is constantly updated)
- full range of current Kodak Vision 3 negative movie films
- all profiles are built around sampling the real analogue media, combined with non-linear image processing
- film targets are printed optically from negatives to print media to ensure that they are correctly interpreted in terms of color and contrast
- there are 3 target samples made for each film: underexposed –2 Ev, normal exposure and overexposed +2 Ev. So in fact each profile consists of 3 separate profiles, smoothly adjustable between the extreme values
- not only films are sampled but many other analogue photographic processes as well – like Ambrotype, Prokudin-Gorsky color separation technique etc.
- basic set of conversion profiles for movie cameras, including Arri Alexa
- Exposure, Contrast and Analogue Range Limiter tools are based upon the real optically printed media samples, so these tools do behave like real analogue media does
- brand new Color Density tool emulates analogue media saturation
- unique Expand tool meant to control black and white points independently
- False Color mode added for visual grading quality control
- all film profiles are updated in one click within the plugin
Below is a detailed description of the basic principles of film profile sampling technique used by Dehancer team.
Negative film sampling
It’s important to realise that negative film as the basic film medium is a set of raw data that requires further interpretation. Negative image is always having low contrast – allowing to register and store complete information about the shot. The only way to see the ‘true’ positive film image is to make an optical (i.e. analogue) print from the negative on film, paper, or any other positive print media.
With optical print, the contrast increases according to the characteristic curve of the print media and the way the negative was exposed (exposure value, lighting conditions). During the printing process color filters are used to to obtain an image without any color casts (pure technical approach) or an image meeting author’s visual concept (creative approach). Compliance with strict (i.e. instrumentally measured) standards makes it possible to obtain the same color and contrast ratios that were designed by film manufacturer.

Besides the true analogue printing process, there are two approaches of direct scanning of the negative:
1. Obtaining a normal-contrast image as close as possible to a hypothetical printed version.
2. Obtaining a raw low-contrast image for further processing and interpretation.

In the first case, color-contrast interpretation is done by the scanner hardware and software. There are many solutions resulting in a decent and really print-like result. However, no scanner or software is capable (so far) to guess the shooting conditions (exposure, lighting) of the negative and therefore is not capable to make appropriate corrections for a stable and reliable result. Even more important is that all algorithms made to simulate printed media are based upon automatic analysis and often output unpredictable and unstable results – even when the same frame on the same film is repeatedly scanned, not to mention adjacent frames.
In the second case color-contrast interpretation is done by a person. Even if automatic corrections are used, the final result is always visually evaluated and manually adjusted according to the shooting conditions.
Even if shooting conditions are well known, scanner doesn’t guarantee the same result when scanning the same film the second time, due to the physical principles of scanning and software interpretation. And what’s even worse, subsequent color-contrast correction is made with digital tools and they are physically and visually totally different from the complex non-linear analogue printing processes. Finally, we get even more ‘digitally fantasied’ image than in the first case.
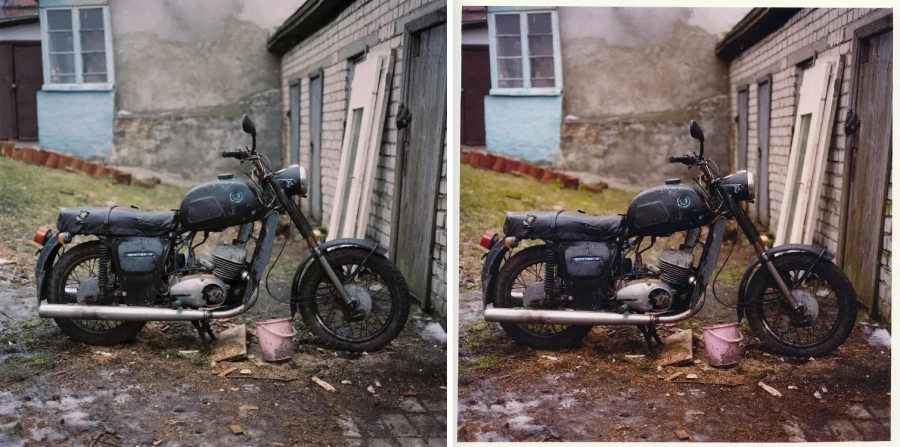
On the left – direct negative scan. On the right – image scanned from the hand-made optical print.
From the first glance there’s an obvious way of getting film sampled – shooting color target and measuring patches on it. However, this data cannot be used for our purposes, as we have only reference color data about the target (without film influence). If color and contrast are set according to their measurements, we will simply subtract the result of the film influence, turning the image into a kind of ‘correct’ digital copy. This can be useful for accurate digital and film image matching (in his blog Steve Edlin described in detail how to do this). But when sampling films for further creative use, we face the exact opposite problem – to measure the very same ‘warm analogue film colors’ (in other words, color distortion data) – to bring digital image back to life.
Thus, the very principle of scanning negatives does not allow us obtaining ‘true’ film colors. Optical printing is the only way to do this.
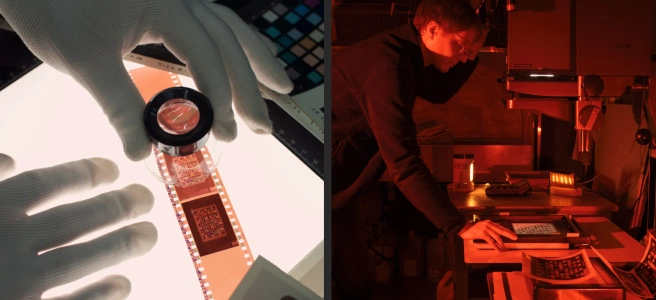
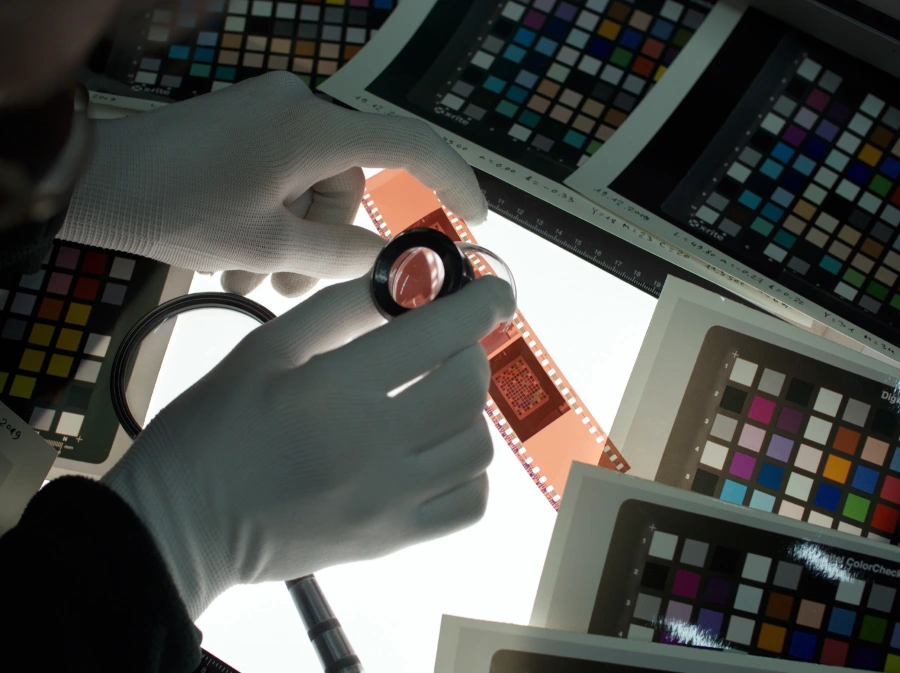
As far as we know, no one has ever done it before (correct if we are wrong). Some software developers may have considered this approach, but probably gave up on the technical difficulties of optical print implementation. Especially when it comes to colour negative film – it is necessary to have at least your own darkroom with rather specific (and rare nowadays) equipment, well-established supply chain of fresh chemistry and photopaper, quality control of chemicals condition in tanks (that can be reached only by constant printing flow) etc. etc. But the most important thing – for this purpose it is necessary to have sufficient experience with film and good optical printing skills.
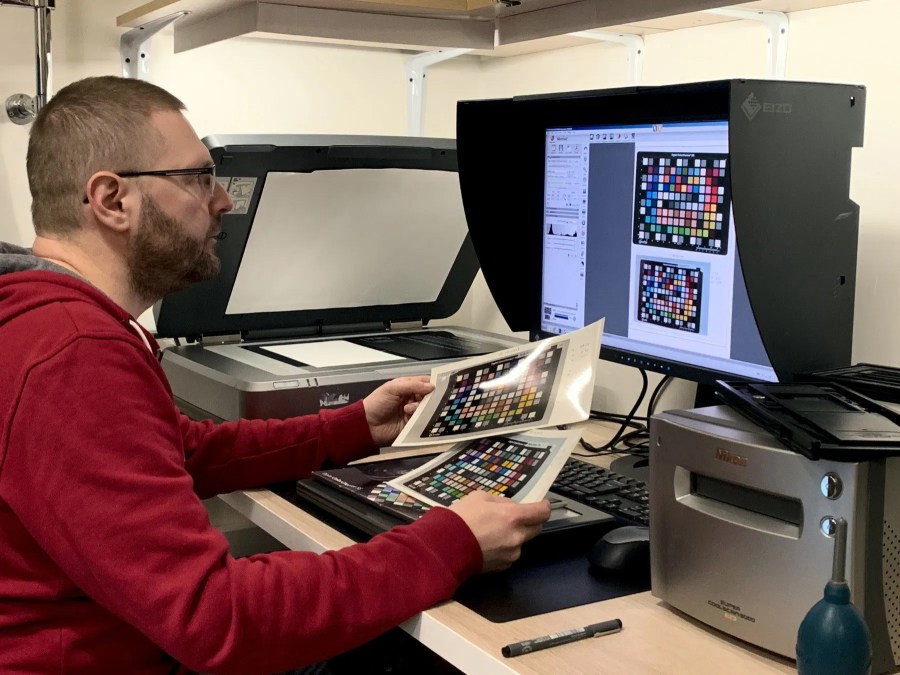
Additionally, it is necessary to define strict criteria and measuring technique for final print evaluation, which will determine the color correction parameters used on the optical printing device. Compliance shall be measured instrumentally, with a spectrophotometer and/or densitometer. Only then is it possible to create a complete and reliable sampling method giving stable results (impossible with direct negative scanning).
With more than 30 years of total film experience, we have spent about 5 years restoring, running and debugging all the necessary analog development and printing processes, checking many guesses, developing strict criteria for prints evaluation and checking the approach on dozens of different films and media.
Mathematical modelling
Getting ‘true’ film colors on the print is just the necessary technical minimum. Then the most interesting stage begins – inventing methods for stable and precise (not allowing different interpretations) scanning of the print and building mathematical models for correct interpretation of sampled data in the form of LUT-profile.
We have studied all modern approaches and software solutions for 3D color morphing with tables and we have found that there’s no perfect mathematical model so far. So we had to create our own. Robert Hunt experience helped us a lot. He headed Kodak’s research laboratory for 34 years and wrote the book ‘Color reproduction’. We made a lot of our own research in the psychophysiology of human perception, cognitive science, mathematics and other related sciences as well.
The main difficulty in data interpretation is that whatever target we use for film sampling, we always deal with a limited set of colors. It can be 24, 116 or even (say) 4000 patches, but this set is always limited and discrete. Real life gives us millions of color tones (for example 16,772,216 in case of digital RGB model in 8-bit color representation).
That means, we always know what exactly 24, 116 or even 4000 specific colors should become. But we don’t have information about what should happen to the other 16,773,216 colors in between (in case of RGB 8 bit, for example). Whether we like it or not, we will have to ‘invent’ new values for them. Of course, based on the measured data we already have.
Practice shows that different methods of interpolation may produce significantly different profiles. A more or less acceptable result is usually obtained with affine transformations, where all points between known points are shifted linearly. This approach avoids as much as possible all excessive 3D ‘swirls’ and extreme bends, which can lead to false colors, posterisation and even glitch effects. However, this approach imitates film colors approximately.
Since perception itself is nonlinear, it is necessary to interpret sampled data using nonlinear algorithms to obtain satisfactory perceptual results. We have managed to create and improve a mathematical model that interprets the data as much as possible in accordance with human perception, and does not lead to technical issues and glitches.

There are some publications about our research in the blog of Denis Svinarchuk (on russian), leading mathematician, engineer and developer of Dehancer.
Slide films and other analogue processes
As we mentioned before, negative film is the basic and the most popular film medium. This kind of film still makes the biggest part of all film produced. However, in addition to negative films, there are at least positive and reversal films (these are different kinds). There are also Polaroids, Prokudin-Gorsky’s color separation process, ambrotype, cyanotype, platinum-type, autochrome, cross-processes and many others.
Previously we described in detail how negative film sampling is made. But we also sample slide films and other processes. Each of them requires proper interpretation with proprietary sampling technique.
For example, we don’t scan slides, but rather shoot them under strictly defined conditions, achieving the same feeling of slide film as seen on the light table. Backlight and hardware are calibrated. Then we use the same engineering software with nonlinear image processing for data interpretation, in a similar way, but taking into account the specifics of a positive image.
Push / Pull
Another feature of our profiles is that there are actually three profiles inside each of them.
It is well known that all photographic films behave differently when exposed normally, underexposed or overexposed. The amount of light hitting the emulsion affects both colour and contrast.
Each film is sampled 3 times: underexposed –2 Ev, normal exposure and overexposed +2 Ev, while profiles are smoothly adjustable between the extremes.
Photopaper negative printing, ok. What about movie film?
It’s a pretty common question. Actually, our negative film profiles are made via printing samples on photographic paper, whilst the classic movie production process requires film printing on film. Is there any drawbacks and issues when it comes to using Dehancer profiles for video production tasks?

First of all, there are only five negative film profiles in total of 51 profiles currently available in Dehancer video plugin (we’re constantly making and adding new profiles). These 5 movie films are the most important and commonly used for movie production. Nevertheless, all other negative films are photographic, which means that our sampling method is appropriate for them.
When talking about movie films – indeed, if we had managed to print them on film in a classic way, the results would probably have been more accurate. But we don’t have that technical capability yet. However, the method of printing movie films on photographic paper isn’t incorrect in any way.
First of all, the very principle of analogue interpretation of colour contrast characteristics by means of printing is basically correct. Opposite approach of direct negative scanning has always been and still remains a software ‘fantasy’ and abstraction.
Printing negative film brings us significantly closer to its ‘true’ colors, whatever the way it is printed. The most important thing is that this method is optical, without any digital technology in the chain. Printing from film to film will clarify the result, but isn’t likely to change it fundamentally.
Secondly, our movie film shooting and printing experience demonstrates that the color and contrast of such photographs are perceived identically to those of photographic films. Thus, from the point of view of negative interpretation, there are no fundamental differences between movie and photographic film. This is confirmed indirectly by many decades of successful use of movie films for the purposes of photography.
Is sampling accuracy important?
It would seem that there were and still are many programs, plug-ins, LUTs and other solutions with film emulation used by millions of people, although most of developers rely on scanning negatives with linear image processing.
Looks like these ‘imprecise’ solutions work well, allowing one to enrich the ‘soulless’ digital picture in a certain way. After all, users still further adjust the contrast, brightness, saturation, white balance and other image parameters. Is it really so important to super-precise the original profile, if it will suffer from further massive digital correction?
We believe accuracy is important.
First of all, we want to use specific film color solutions because they have been carefully designed and revised for decades. For example Kodak spent 34 years and $2 billion (old index value) on lab research for the purpose of film development and improvement.
Film manufacturers are working for decades on the subtlest nuances of color rendering, rightly considering it important for perception. If we want to use this aesthetic ‘heritage’ with digital image processing, it makes sense to simulate films and processes as precise as possible. It’s a complex task to recreate real film features, no matter how we distort them later.
Further correction multiplies the initial inaccuracy. The aesthetic error of 1 mathematical unit during sampling, can easily turn into 10 units after digital post-processing.
Finally, the digital correction tools themselves are basically relying on technical (rather than aesthetic) principles. This usually leads away from aesthetically acceptable result, rather than bringing us closer to it.
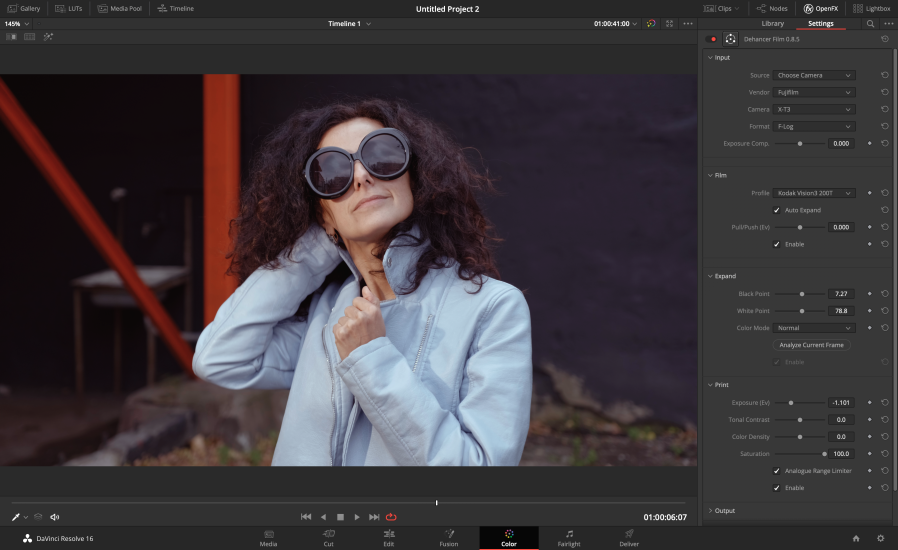
By the way, such tools can also be built upon the instrumental measurements of analogue processes. That’s how, for example, Exposure, Contrast and Analogue Range Limiter tools are implemented in Dehancer video plugin, allowing us to significantly reduce the digital ‘inaccuracy’ in post-processing, making it possible to work with color relations even in a face of significantly increased contrast, brightness changes and overall massive correction.
But this is, probably, the subject of a dedicated article.
Read more about how Dehancer Film works in other articles.
Download actual Dehancer Film version:
https://www.dehancer.com
For a 2-week Promo license, please request to [email protected].
