
Halation is a visual effect that appear when shooting on a film as a red-orange halo near the contrasting boundaries of over-exposed areas, as well as a red glare in the mid-tones. Usually, Halation is produced around bright light sources.

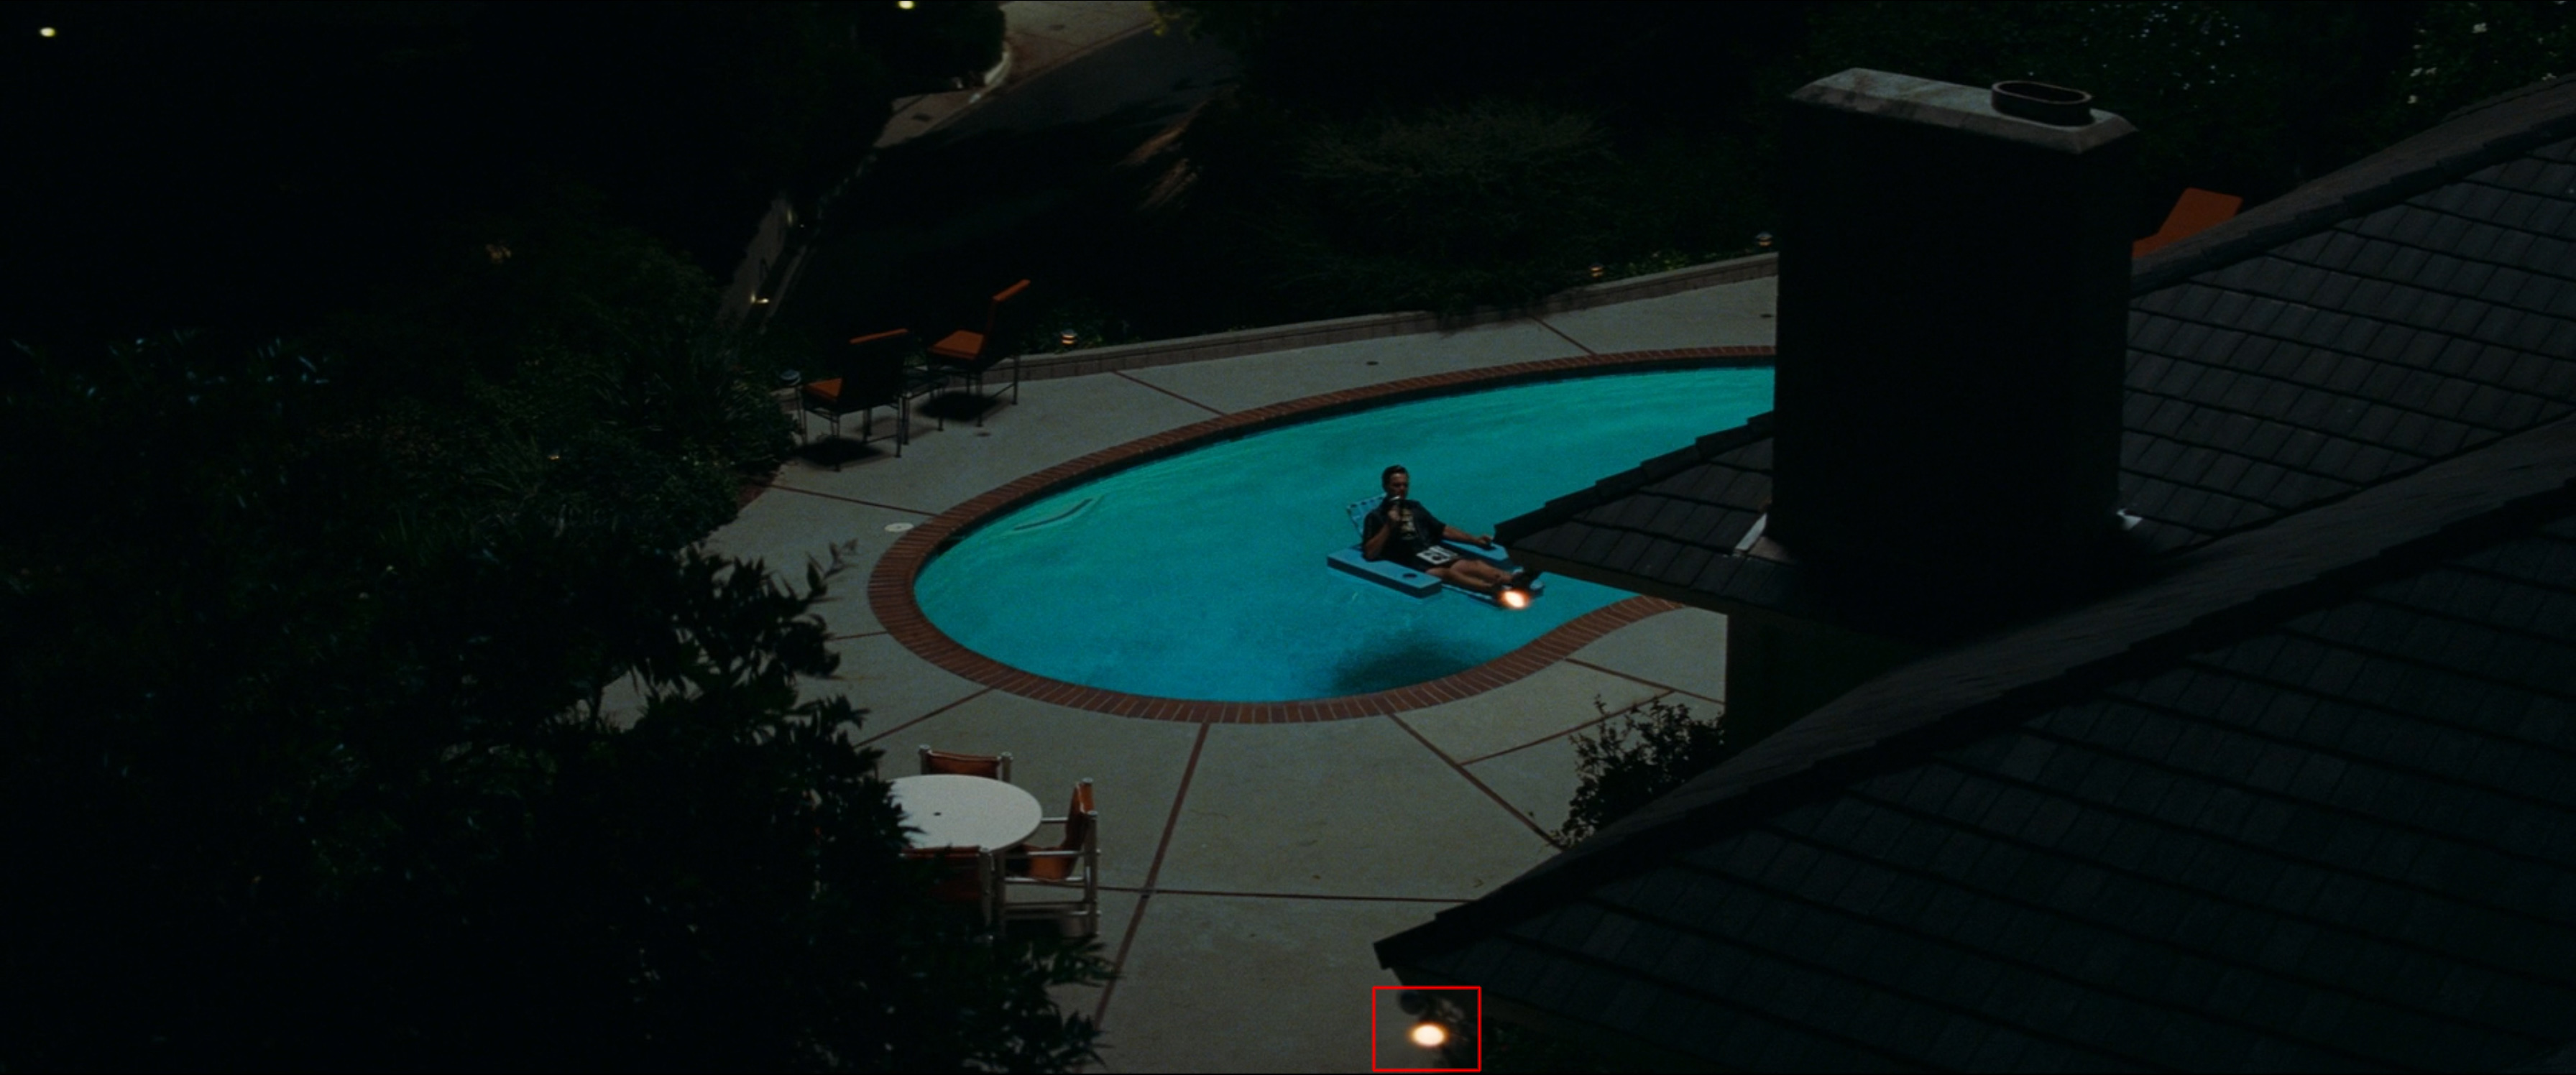
Westworld Season 3 (2020), Kodak Vision3 500T 5219

Crop
Authors: © Denis Svinarchuk, © Pavel Kosenko, © Dmitry Novak
The nature of the halation effect
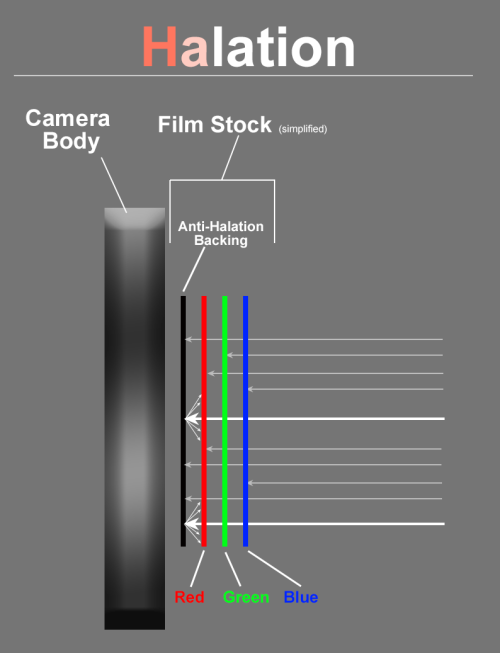
If there was no anti-halation layer in the films, then the light, having passed through all the layers of the emulsion, would have hit the inner metal surfaces of the camera. Then it would bounce off them at different angles and partially return to the film from the back side.
Color emulsion consists of many layers. Basically only 3 or in some cases 4 of them (as with Fujifilm Superia) are involved in the color separation process itself. They are sequenced specifically, and the order determined by the corresponding wavelengths and their distribution in the matter. The closest layer to the lens is responsible for registering the blue light component, then the ‘green’ layer follows, and finally the last and the deepest layer captures the red light.
Therefore, light reflected from the inner surfaces of the camera is usually filtered out from the high-frequency components (blue and green spectrum) and backlights mostly the ‘red’ emulsion layer, which is also the closest to the inner surface of the camera. This causes red halos to appear around strong light sources.
Sometimes reflected light is very bright and not fully filtered by emulsion layers. This allows to reflect back and penetrate not only into the ‘red’ layer, but also into the ‘green’ layer too. In this case, the scattered light color shifts to the yellow spectrum, and the Halation effect gets an orange tint.
You may notice that in the different movie scenes shot on the same film, Halation tint may be different. Actually, the effect is the same on film, but at the editing stage white balance for different scenes may be significantly adjusted, producing different hues.
Excessive and evident halos around light sources and near the contrast boundaries of over-exposed image areas are considered a flaw. However, small halos are completely organic and even desirable as an aesthetic feature for an image shot on film.
There is an anti-halation layer in all contemporary color negative films that eliminates and softens visible halos. In photographic and movie films this technology is implemented slightly differently.
This picture from Википедии shows the anti-halation layer on a modern movie film. It is the last (outer) layer of opaque carbon particles applied to the backing of the film stock. Black carbon absorbs light and prevents it from reflecting and passing all the way through the film back to the emulsion.
Unlike in photo cameras, there is no black painted or anodized film plate on movie cameras – this allows film to travel freely. So, the light passes through the film and scatters inside the camera. The only way to stop the light from reflecting back and exposing the film is to apply the opaque anti-halation layer on the film base. On movie films this layer is made of black carbon particles. Removal of this layer is a special stage of film processing.
The anti-halation layer is not absolutely black. So, it still reflects the light, although much less than the inner parts of the camera. At the same time, the reflection occurs at close distances, which reduces the scattering radius and the size of visible effect.
Hence, usually we observe the halation effect to a smaller extent, sometimes a little more clearly, sometimes – almost at the level of sensations. This depends on various factors, primarily the brightness and the light source type, as well as the exposure level and the degree of contrast on the boundaries where the halos appear.
Generally, the brighter the light, the higher the film exposure and the scene contrast, the stronger the Halation effect is and the more its tint is shifted to orange color. In particular, incandescent light bulbs produce quite obvious Halation, but around LED lamps halos may not be visible at all, because the red component in their spectrum is usually insignificant.
Halation on film: examples
Before we move on to Halation simulation in digital processing, let’s look at some examples of this effect in the movies shot on film.
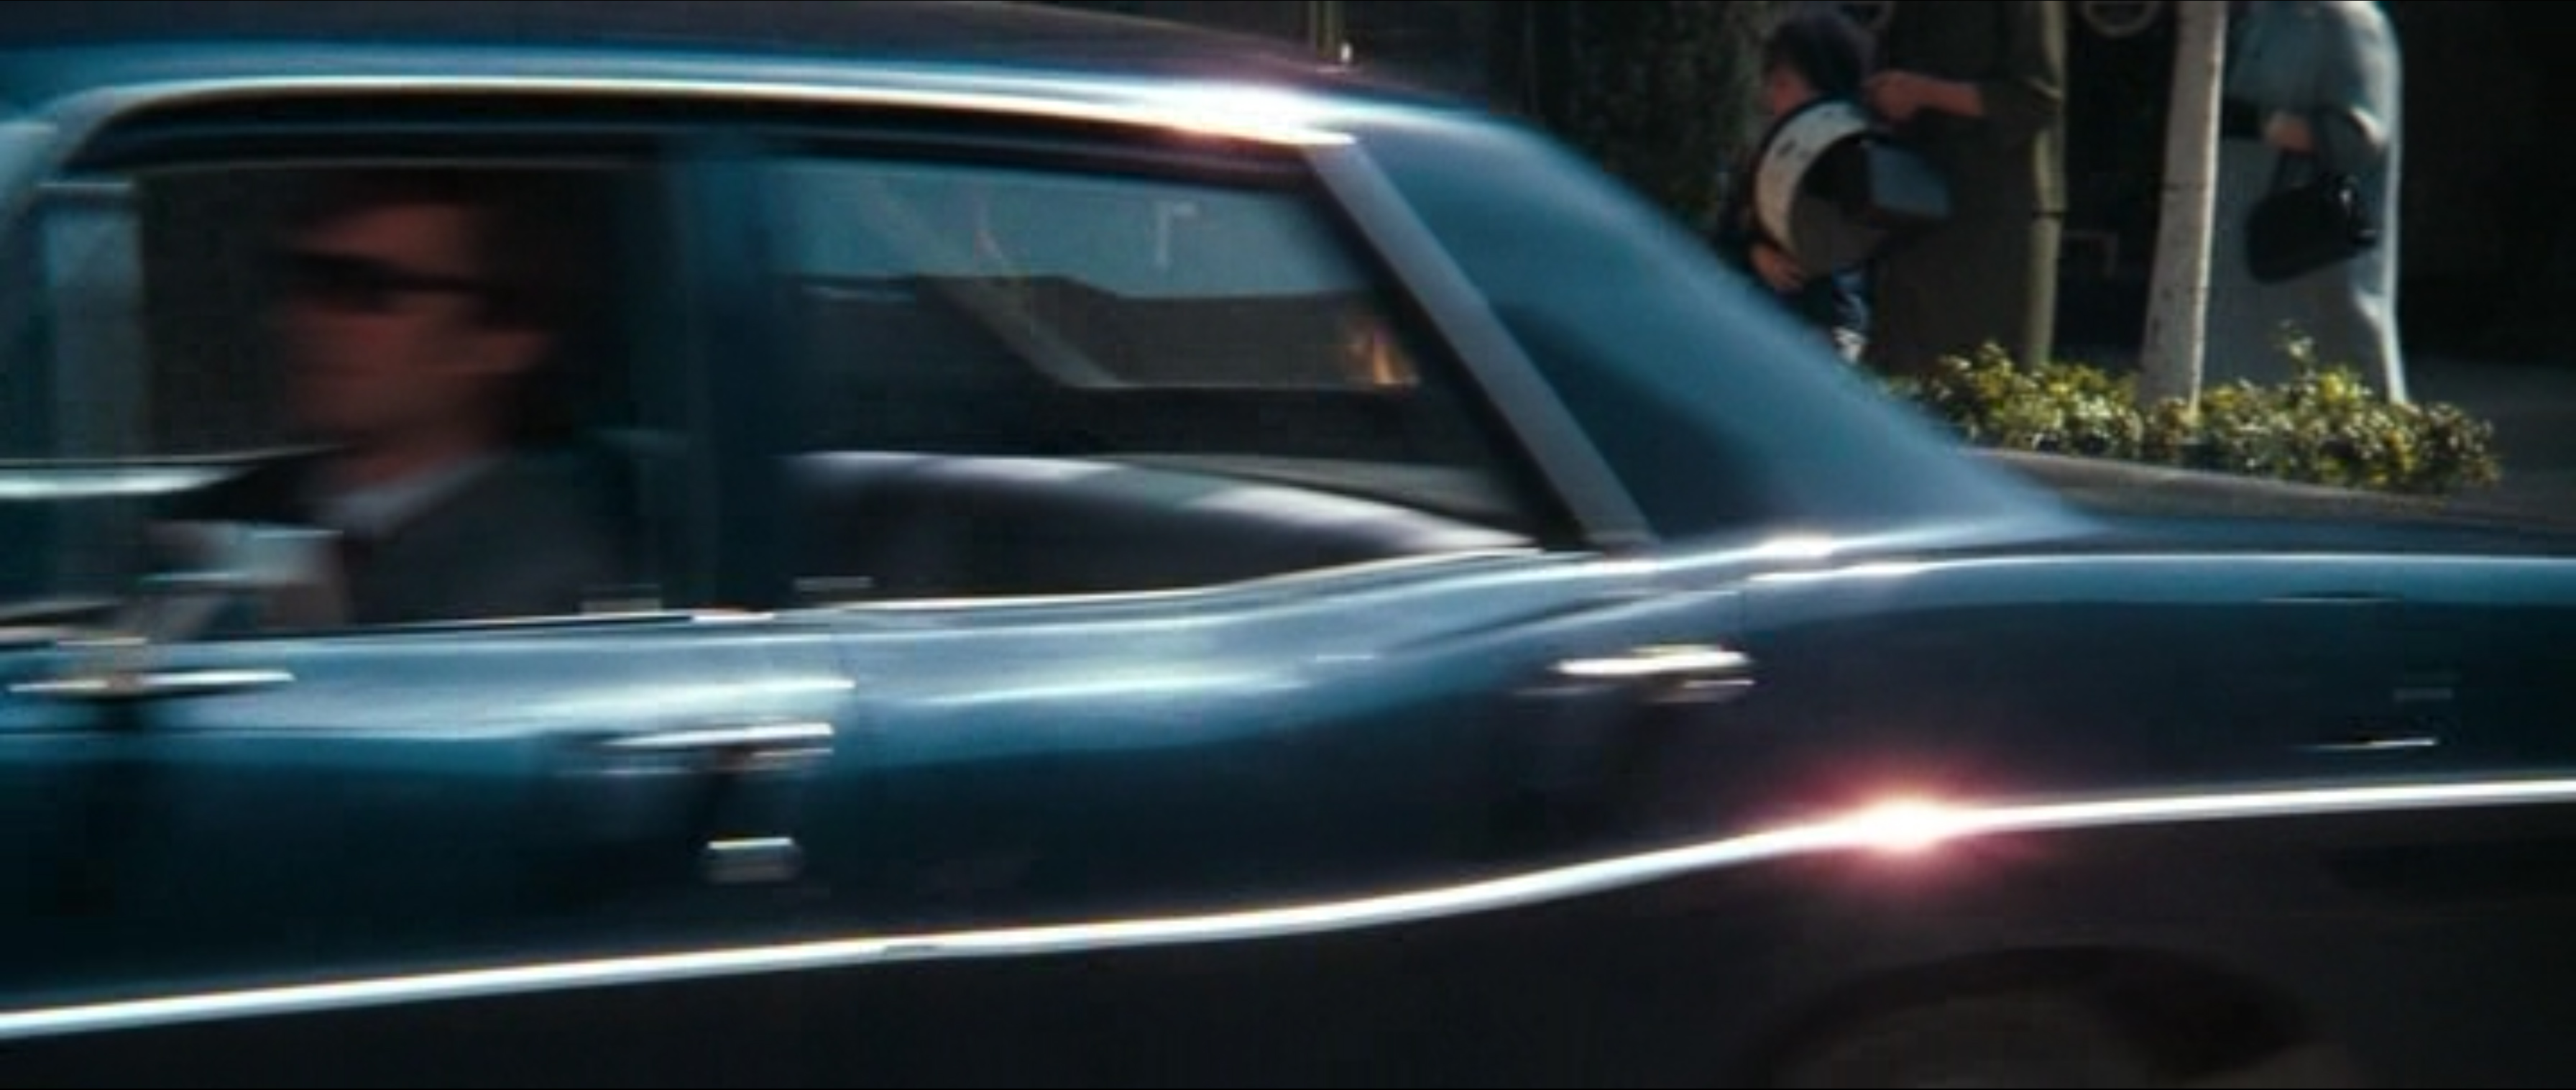
Once Upon a Time… in Hollywood (2019), Kodak Vision3 500T 5219

Crop
Note that despite the high brightness of the light source sufficient for Halation to appear, the light source itself is not overexposed and does not produce clipping.
Another important observation is that at the overexposed border the halos have an orange tint, and as we move away, they become red, because the higher the backlight energy, the more it penetrates into the green layer.
The conditions, under which Halation occurs, are not limited only to powerful light sources and night scenes. It can also be seen during daylight, especially near the high-contrast edges.

Once Upon a Time… in Hollywood (2019), Kodak Vision3 200T 5213

Cop
Halation is very typical around specular highlights on reflective surfaces.

Brother-2 (2000), Kodak Vision

Crop
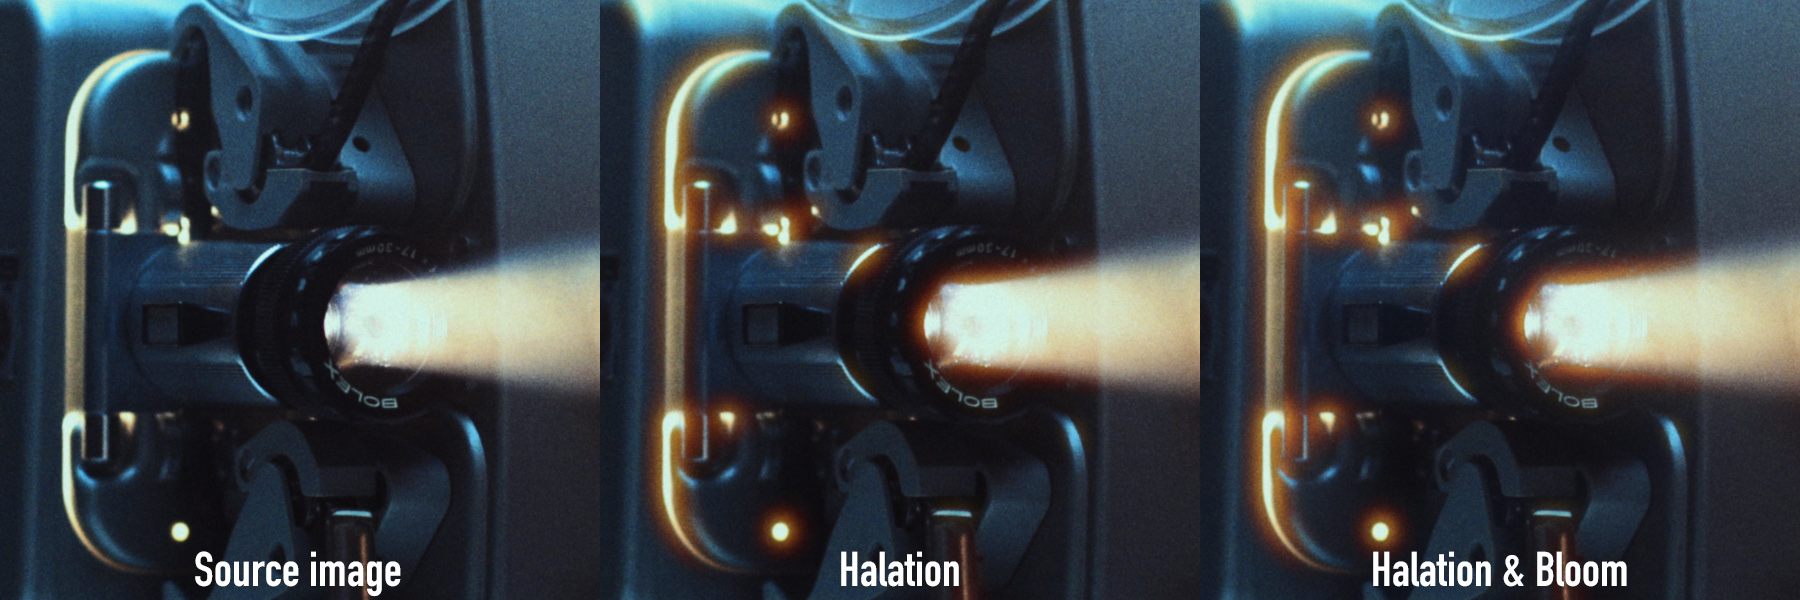
It is observed that Halation usually goes hand in hand with the Bloom effect. This film effect is described in detail in a separate article Bloom: what it is and how it works.
Dirty Harry (1971), Eastman 100T 5254

Crop
The contribution of Bloom to the combined ‘Halation + Bloom’ effect may vary depending on the optics and a film stock used. Sometimes Bloom is even more prominent than Halation. Sometimes Bloom is less visible. But anyway, Bloom almost always comes with Halation (although these effects are of different physical nature). In this case, Bloom is often, though not always, tinted with a touch of Halation color. As a result, the cumulative effect usually looks like a large composite halo.
Visible size of halos depends not only on the brightness of the source and the degree of Bloom contribution, but also on the format of the film (the frame size). The smaller is the frame, the larger the Halation and Bloom effects are in relation to it. For example, on 16 mm film, halos are more visible than on 35 mm film. On the ‘wide’ 65 mm negatives halos will be very small relative to the entire image.
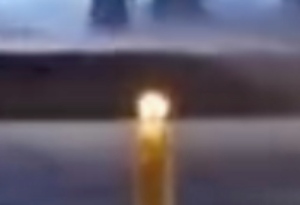
Example of Halation on 16 mm film:

L’ONE | 7days (2018), Kodak Vision3 500T 7219

Crop
Example of Halation on 65 mm film:

The Hateful Eight (2015), Kodak Vision3 500T 5219
Crop
Imitation of the Halation effect with Dehancer OFX
In order to authentically simulate the Halation effect in digital image processing, we have invented a special tool that works in accordance with the real physical processes described above. It is part of the Dehancer Pro OFX plugin (as well as the Dehancer Photo Edition) and has a separate Halation settings group. In addition, Dehancer Halation exists as a standalone OFX plugin.

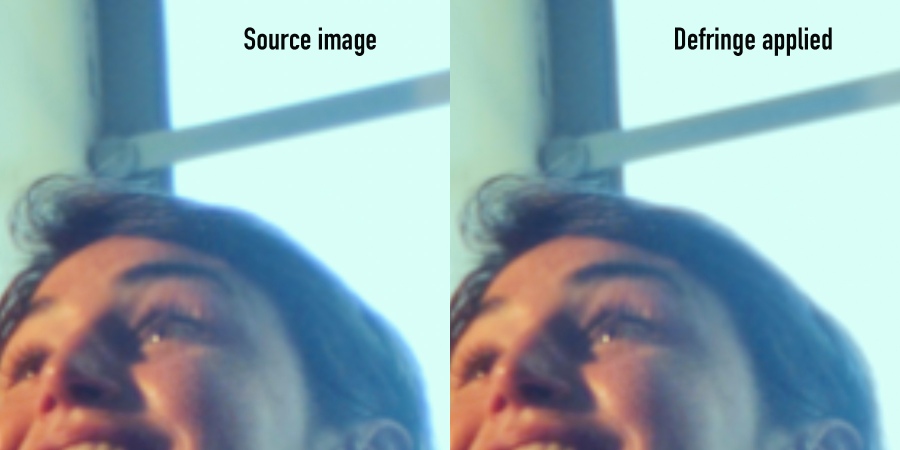
Defringe and Defringe Radius help to deal with chromatic aberrations that interfere with the Halation effect. In Dehancer Pro and Dehancer Photo Edition, aberration reduction tools are located in the general group of Input parameters. In a standalone Dehancer Halation plugin, they are located in a separate group before the main parameters.
Defringe
The overall level of chromatic aberration suppression. The higher the value, the less noticeable the aberrations become.
Defringe Radius
The size of the details that the algorithm will consider aberrations. The higher the value, the larger the radius of the effect and the wider the area of suppressed aberrations.
You should take into account that for effective detection of chromatic aberrations, the timeline dimensions must be no less than Full HD 1920 × 1080. Ideal conditions for aberration suppression occur when the resolution of the timeline matches the resolution of the original files.
If the resolution of the timeline is low, but sufficient for the source files, then chromatic aberration suppression may appear insufficient in the Preview window or on the reference monitor in DaVinci, but after the export, the quality will usually improve.
Now the parameters of the Halation effect itself. Let’s consider the impact of each one. For the illustrative purposes other settings can be set to the excess values.
Source Limiter
Background Gain
With these parameters, you can control the contrast of the border between the “source” and the “background” in order to produce the Halation effect.
In this case, under the light areas we mean the light sources (Source), and under the dark areas – the background on which the source appears (Background).

Although Halation as a physical phenomenon spreads freely in all directions inside the emulsion, red-orange halos are usually distinguishable only against the darker backgrounds, meaning on the dark side of the contrast borders.
Source Limiter is responsible for the level of brightness of the light sources at which the Halation effect can occur. By default, Source Limiter is set to its minimum value, which allows halos to appear around most (or even all) light sources, both bright and dim.

Source Limiter = 0
By increasing the Source Limiter value, we can cut off low brightness sources and leave only the brightest ones.

Source Limiter = 100
Background Gain is responsible for the level of brightness of the backgrounds on which the Halation effect can occur. By default, Background Gain is set almost to the maximum value, which allows halos to appear on most backgrounds – both very dark and not very dark.
Background Gain = 100
By decreasing the Background Gain value, we can cut off least dark backgrounds, leaving only the darkest ones.

Background Gain = 0
The Halation effect is most pronounced when Source Limiter is at its lowest and Background Gain – at its highest.
Smoothness
An integral parameter associated with the type of film emulsion and its sensitivity. Controls the distribution of the Halation effect between large and small light sources and simultaneously determines its visual softness, as the name suggests.
The higher the Smoothness value, the softer (smoother) the Halation halos appear, the more they appear at the edges of large light sources and the less at point light sources.

Local Diffusion
This parameter how far the light spreads in the “emulsion” from the edge of the source. The higher the Diffusion value, the larger the geometric size (radius) of the halos. The lower Local Diffusion, the smaller the halos are.

Global Diffusion
Global Diffusion is the degree of secondary glare of the red layer by reflected scattered light. This is a more global effect that affects mostly low-contrast mid-tones and also enhances the primary halation.

Global Diffusion = 0
Global Diffusion = 100
Secondary halation glares are always present on film, even if not very noticeable at first glance. Generally, they are beneficial for the skin tones, making them slightly warmer and more natural.

Amplify
Determines the energy strength of the glare. It’s a virtual Halation effect enhancer that emulates the sensitivity of the red, and to a lesser extent, of the green emulsion layers of a film to the rays reflected from the anti-halation layer.
The higher the Amplify value, the more pronounced the effect is, and the more orange the halos become (due to the increase in sensitivity of both red and green layers of the emulsion”).

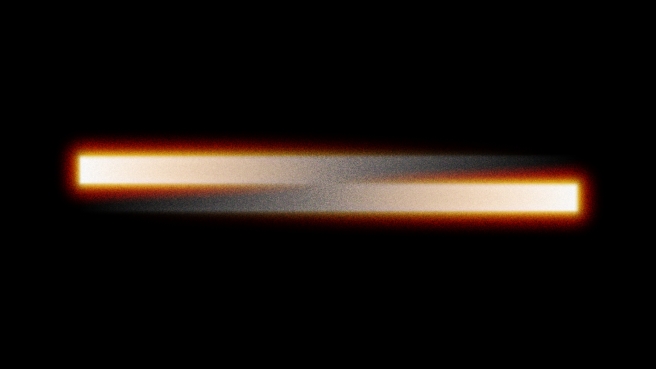
Amplify = 0

Amplify = 100
Hue
The sensitivity of the green layer of the emulsion to the reflected light. This parameter defines the orange component inside the halation halo.
The minimum value of Hue = 0 means that the green layer is not overexposed, meaning the halo consists entirely of red.
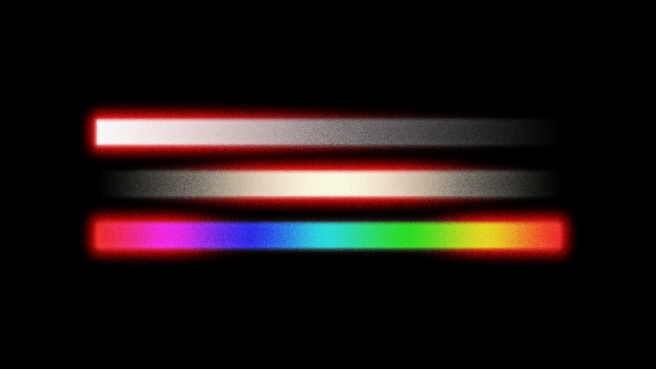
Hue = 0
An intermediate Hue value (for example, Hue = 50) means that not only the red, but also partially the green layer is exposed. Therefore, closer to the edges of the exposure, the halo takes on an orange tint.
Further from the edges of the glares, the halo smoothly becomes red as the energy brightness of the glares decreases and, so does the impact of the green layer.
Hue = 50
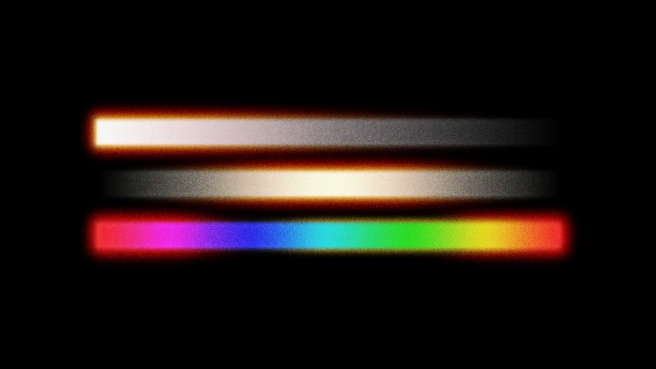
The maximum value of Hue = 100 means that the sensitivity of the red and green layers is conventionally the same. Meaning they get illuminated almost evenly, hence the halo within its entire diffusion area mainly has an orange tint.

Hue = 100
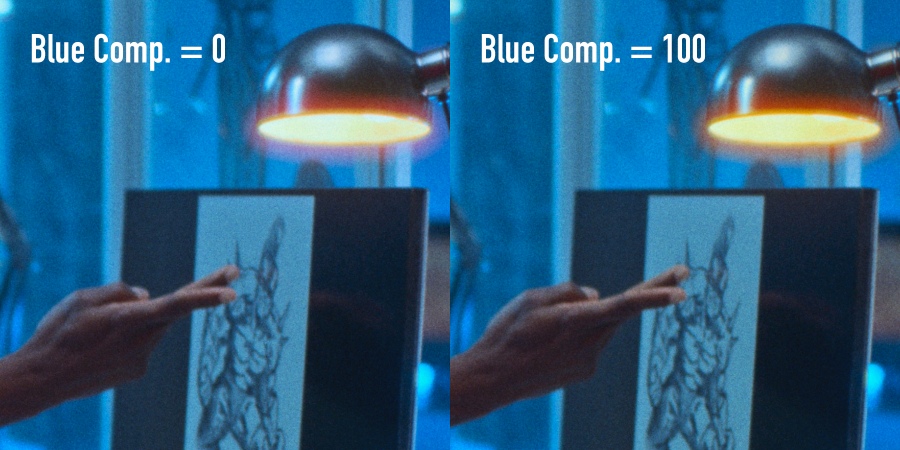
Blue Comp.
The compensation degree of the influence of the blue background on the visibility of the halos.
If halation occurs against a cool-toned background, then such a background dampens and weakens the effect. Blue Compensation allows you to reduce the influence of a cool background on the visibility of Halation.
Impact
Overall impact of an effect. This parameter can be conventionally referred to as Opacity, since it controls not the physical parameters of the emulation, but the transparency of the superimposed effect.
Mask Mode
Allows you to control the settings and see how halos and glares look in their pure form, separately from the main image.

Halation & Bloom
The halation effect rarely occurs in isolation from the bloom effect. Therefore, it is generally best to use both Halation and Bloom to get a more accurate image. At the same time, in Dehancer, you can fine-tune the influence of each of them.
P.S.
For the proper functioning of the Halation algorithm, it is recommended to use the following Image Scaling settings for your project:

Also, you can watch our 15-minute video in English about how Halation tools works in Dehancer.
You can download the latest versions of Dehancer plugins on our website:
https://www.dehancer.com
